

How To Validate Windows Key
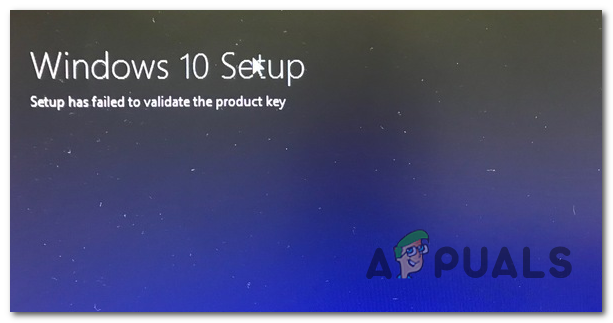
The 'Setup has failed to validate the product key' fault is typically encountered when users try to upgrade to Windows 10 from an older Windows version like Windows 7 or Windows 8.i using an ISO file.
What's causing the 'Setup Has Failed to Validate the Product Key' Error?
- third party AV interference – It has been confirmed that the upgrading utility can be interrupted from communicating with the external servers past an overprotective 3rd party suite. In this instance, yous can fix the problem past disabling existent-fourth dimension protection or by uninstalling the security plan altogether.
- The unpacked installer is already present in Temp – Some other possibility is that the upgrading tool throws this error because it already finds an unpacked installer within the temp folder. If this scenario is applicable, y'all tin get the issue resolved running the Disk Cleanup utility to clear every temporary file.
- Pkey key is not attached to media installation – Equally it turns out, the consequence can also exist caused by a log file (setuperr.log) file in situations where the user tries to upgrade using an installation media without a license key. In this case, y'all can apply the license fundamental using a serial of CMD commands.
- System File Corruption – Organization File abuse tin can also exist responsible for the apparition of this mistake message. Most probable, a couple of corrupted dependencies are forcing the upgrading utility to finish the process prematurely. In this example, you tin fix the problem by running a complete DISM scan.
- Config File is missing – Some other potential scenario is a state of affairs in which the upgrading media that y'all're using is missing a key config file that is needed for the installation. To fix it, yous can create the config file easily using Notepad.
Method i: Disabling 3rd party AV (if applicable)
If you're using a 3rd political party security suite that tends to be overprotective, it'southward entirely possible that information technology ends upwardly interrupting the connectedness between the upgrading setup with the external servers.
In case this scenario is applicable to y'all and you're using a 3rd political party suite that might interfere with the upgrade, you should retry the upgrade after disabling or uninstalling the potential antivirus culprit.
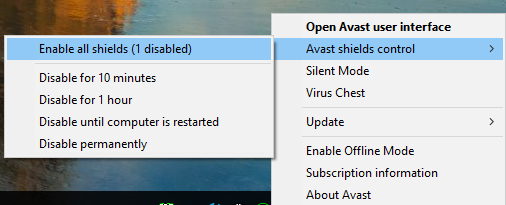
If you find yourself in this state of affairs, start past disabling real-time protection and see if the upgrade is successful. To do this, simply admission the taskbar icon associated with your AV and look for an option that disables the real-fourth dimension protection.
If this doesn't work or you didn't observe the equivalent option in your AV menus, endeavor uninstalling the security plan altogether to ensure that there are no security rules that might influence this upgrading process. To practice this, file this article (hither) – it will bear witness you how to install your security program and ensure that you likewise remove any leftover files that might still cause this behaviour.
In instance this method wasn't applicable or it didn't gear up the underlying problem, move downward to the next potential fix below.
Method 2: Running Deejay Cleanup on the drive
As it turns out, in near cases, the 'Setup has failed to validate the product central' error will occur due to an error originating from the AppData\Local\Temp.It's possible that the upgrading software will throw this error because it already finds unpacked installer files in the temp folder, so it decides that at that place's show of a security threat and aborts the upgrading process.
If this scenario is applicative, you should be able to ready the issue by running the Deejay Cleanup utility on your Windows drive and ensure that the process volition stop upward clearing the Temp folder. Subsequently doing and then and restarting the machine, the upgrading procedure should consummate without issues.
Here'south what you demand to do:
- Press Windows fundamental + R to open up a Run dialogue box. Adjacent, type 'cleanmgr'inside the text box and printing Enter to open upwardly the Disk Cleanup utility. If you're prompted past the User Account Command (UAC) window, click Aye to grant admin access.
- Once you arrive at the Disk Cleanup: Drive choice stage, use the drop-down card under Drives to select your Bone bulldoze. Information technology'south typically C: only you can identify information technology via the Windows logo. With the correct bulldoze selected, click on OK to salve the changes.
- When you lot're inside the Disk Cleanup window, ensure that the checkboxes associated with Temporary Cyberspace Files and Temporary files are checked.
- Once everything is set up, click on Clean up organisation files button and then confirm at the UAC prompt.
- You volition then exist prompted by a different Disk Cleanup icon where you will need to select Temporary Internet Files and Temporary files once again before clicking on Ok.
- At the final prompt, click on Delete files to kickoff this process.
- Wait until the operation is complete, so restart your reckoner and run into if the issue is resolved at the next system startup.
- After the side by side booting sequence is complete, repeat the upgrading process and run across if y'all are able to do it without encountering the error bulletin.
In case you lot're still seeing the 'Setup has failed to validate the production key' error, motion down to the next method below.
Method 3: Applying the Pkey manually
In instance the upshot is indeed related to data stored inside log files, it's probably due to setuperr.log file that is notoriously known for causing the 'Setup has failed to validate the product key' error with upgrade attempts using locally stored installation media.
If this scenario is applicable, yous should be able to resolve the event by opening a command prompt and running a command that adds the license key to the binder where the installation media is stored.
Several affected users that also encountered this issue accept reported that the result was resolved entirely in one case they performed the instructions below. Hither'south what you need to practise:
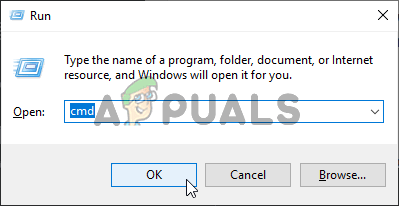
- Press Windows key + R to open upwards a Run dialogue box. Adjacent, blazon 'cmd' inside the text box and press Ctrl + Shift + Enter to open up an elevated Command Prompt. When you see the User Account Control, click Yes to grant administrative privileges.
Running Command Prompt - Once you're within the Elevated Control Prompt, blazon the post-obit command to navigate to the location where the media installation tool store it'due south files:
CD: C:\ESD\
Note: If you forced the Media Creation tool to store it's filed on a custom location, navigate there instead.
- Next, type the post-obit command and printing Enter to attach the product central to the media installation tool that is handling the upgrade:
Setup /pkey xxxxx-xxxxx-xxxxx-xxxxx-xxxxx
Note: *10* is only a placeholder. Replace it with the actual license key that you want to use for the upgrading procedure.
- Close the elevated CMD, then start the upgrading process again and see if you're still encountering the 'Setup has failed to validate the product cardinal' error.
In case you lot're still encountering the aforementioned issue, move down to the next method beneath.
Method 4: Running a DISM scan
Some affected users accept confirmed that they were able to resolve the event later on they run a DISM (Deployment Image Servicing and Direction) browse on their estimator. The success of this method suggests the possibility that this issue tin besides be caused by an underlying system abuse effect that' affecting the upgrading process.
DISM is a built-in utility that is very adept at fixing dependencies that might interfere with disquisitional OS chores like upgrading to a newer version.
Here'due south a quick guide on running a DISM scan in club to fix the 'Setup has failed to validate the product key' error:
- Open up a Run dialogue box by pressing Windows central + R. Inside the newly opened window, type 'cmd' and printing Ctrl + Shift + Enter to open up an elevated Command Prompt. When you're prompted by the UAC (User Business relationship Control), click Yes to grant authoritative privileges.
Running Command Prompt - Once y'all're within the elevated CMD prompt, type the following commands in gild and press Enter after each browse is completed to run a full DISM tin can:
Dism /Online /Cleanup-Paradigm /CheckHealth Dism /Online /Cleanup-Epitome /ScanHealth Dism /Online /Cleanup-Image /RestoreHealth
- Once every scan is complete, restart your figurer and encounter if the issue is fixed the adjacent fourth dimension you try to run the upgrading utility.
In case the aforementioned Setup has failed to validate the production keymistake is still occurring, motion down to the terminal method below.
Method v: Creating a EI.cfg file for the ISO file
If none of the methods above has allowed you to fix Setup has failed to validate the product primalerror, it's probably because the upgrading media that you're trying to apply doesn't contain a config file that's mandatory when upgrading from an older Windows version.
In this case, yous'll demand to apply a decompression utility to extract the Windows 10 ISO and add a .cfg file that volition rectify this upshot. One time you lot do then and put the ISO back together, you should no longer encounter the same issue.
Here are step-by-step instructions through the whole thing:
- Use WinRar, WinZip, 7Zip or any other similar utility to excerpt the ISO file containing the installation media into a folder.
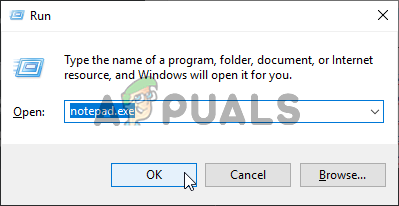
- Press Windows key + R to open up upwards a Run dialogue box. Next, type 'notepad.exe' and press Ctrl + Shift + Enter to open up an elevated Notepad window.
Save every bit… in Notepad - Once you're inside the notepad window, paste the contents below into it:
[EditionID] [Channel] Retail [VL] 0
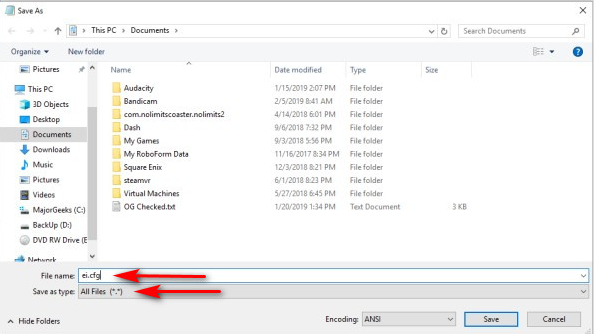
- Once the contents take been added, go to File > Save as.Once you're inside set the Save as blazon to All Files.Name it ei and ensure that you include the '.cfg' extension at the end. But before clicking save, ensure that the new file is saved inside the Sources folder of the ISO installation.
Creating the Ei.cfg file - Run the setup.exe file from the same installation media and meet if you can complete the process without encountering the Setup has failed to validate the product keymistake.
![]()
Source: https://appuals.com/windows-10-validate-product-key/
Posted by: hubbardhithorable.blogspot.com
0 Response to "How To Validate Windows Key"
Post a Comment